How to Record Video Presentations in Canva
The rise in working from home has caused a surge in people upping their game on video. Sweet YouTube setups, Zoom backgrounds, and quality audio/video gear are becoming the norm.
I’ve loved using Loom for the last few years to record live video presentations, but did you know you can also do this in Canva? Mmm whatcha sayyyy?
First, go to Canva and create a new design and select “Presentation”
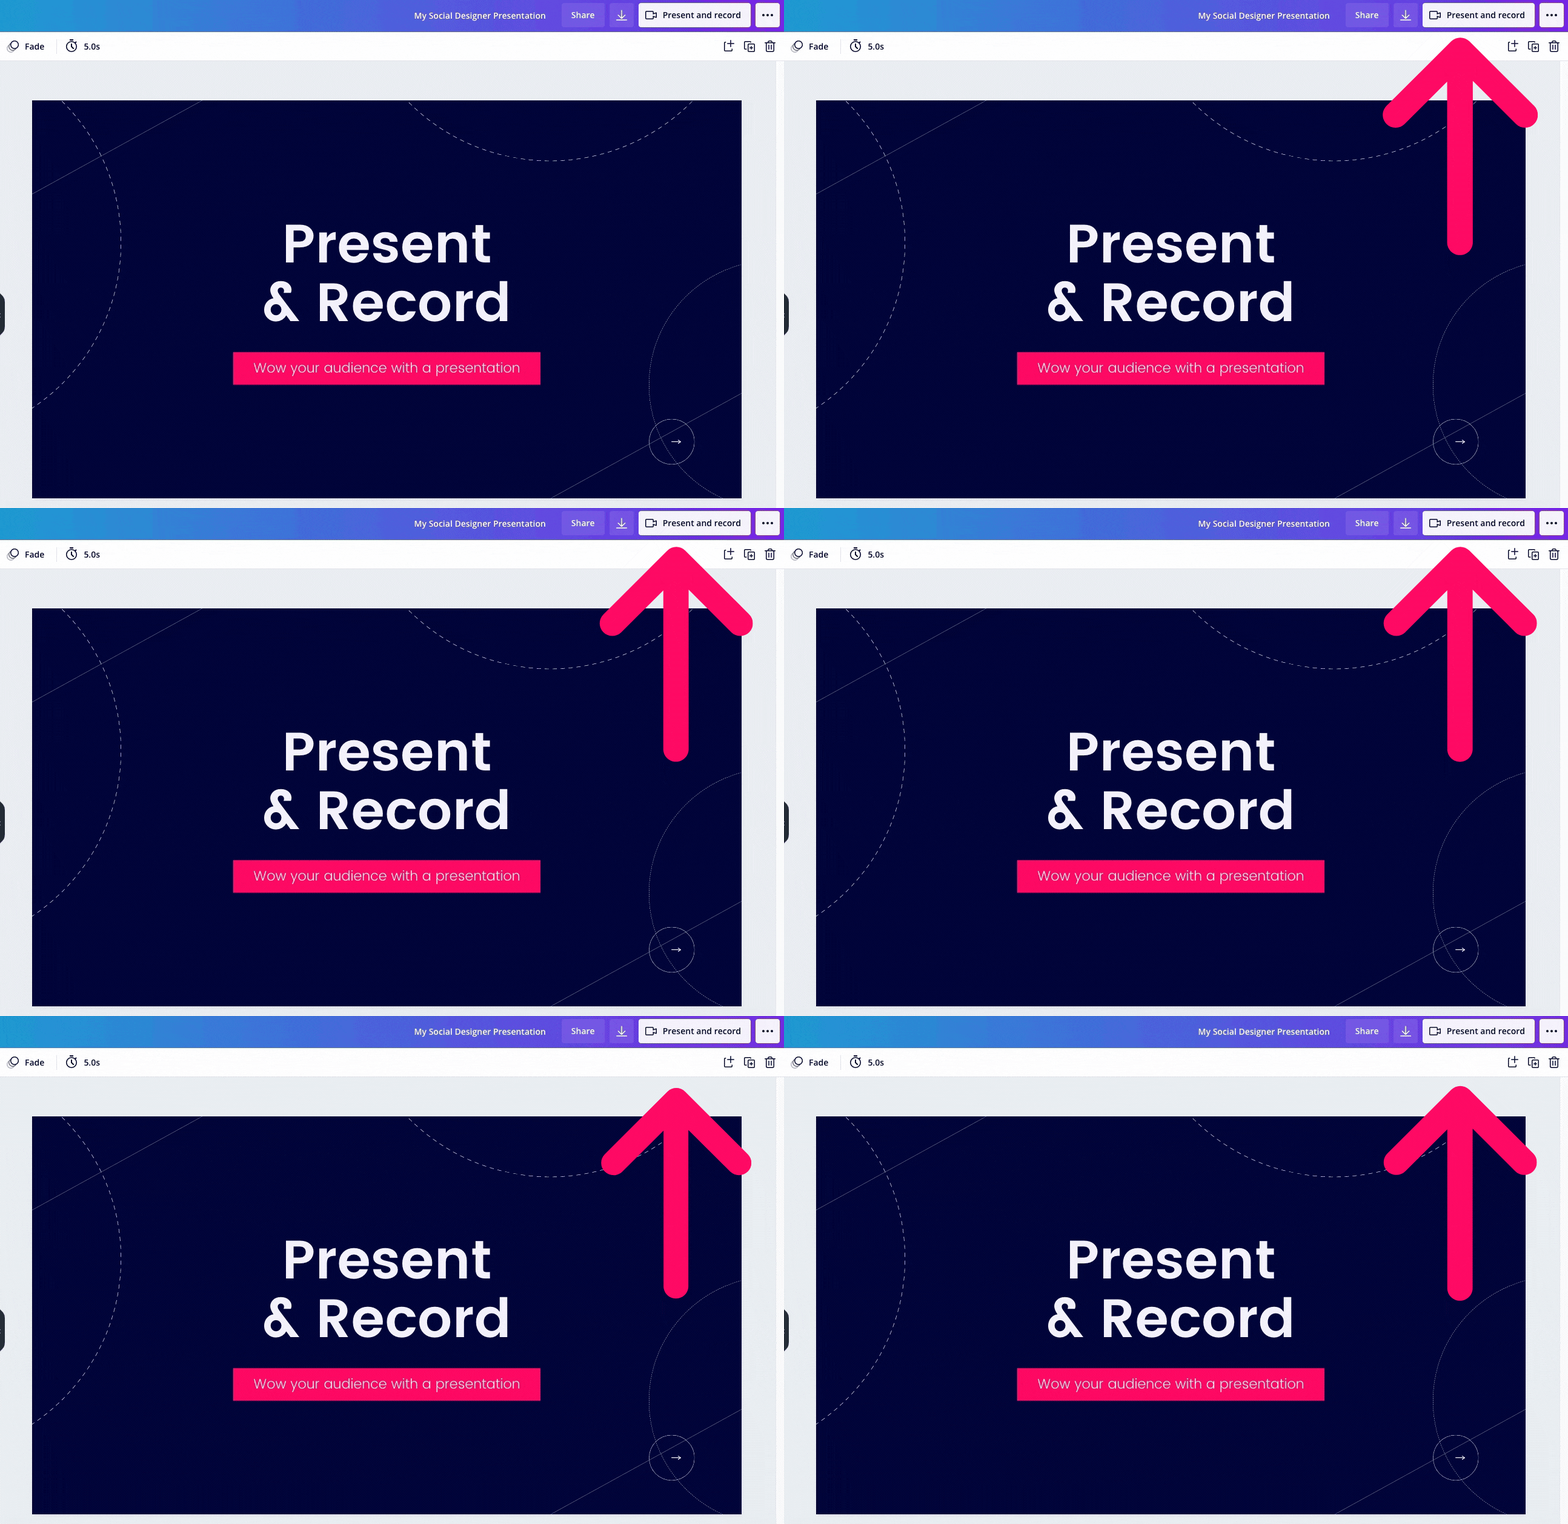
Select a template to begin designing your presentation, or create your own from scratch. Once you’re done, click on Present and Record
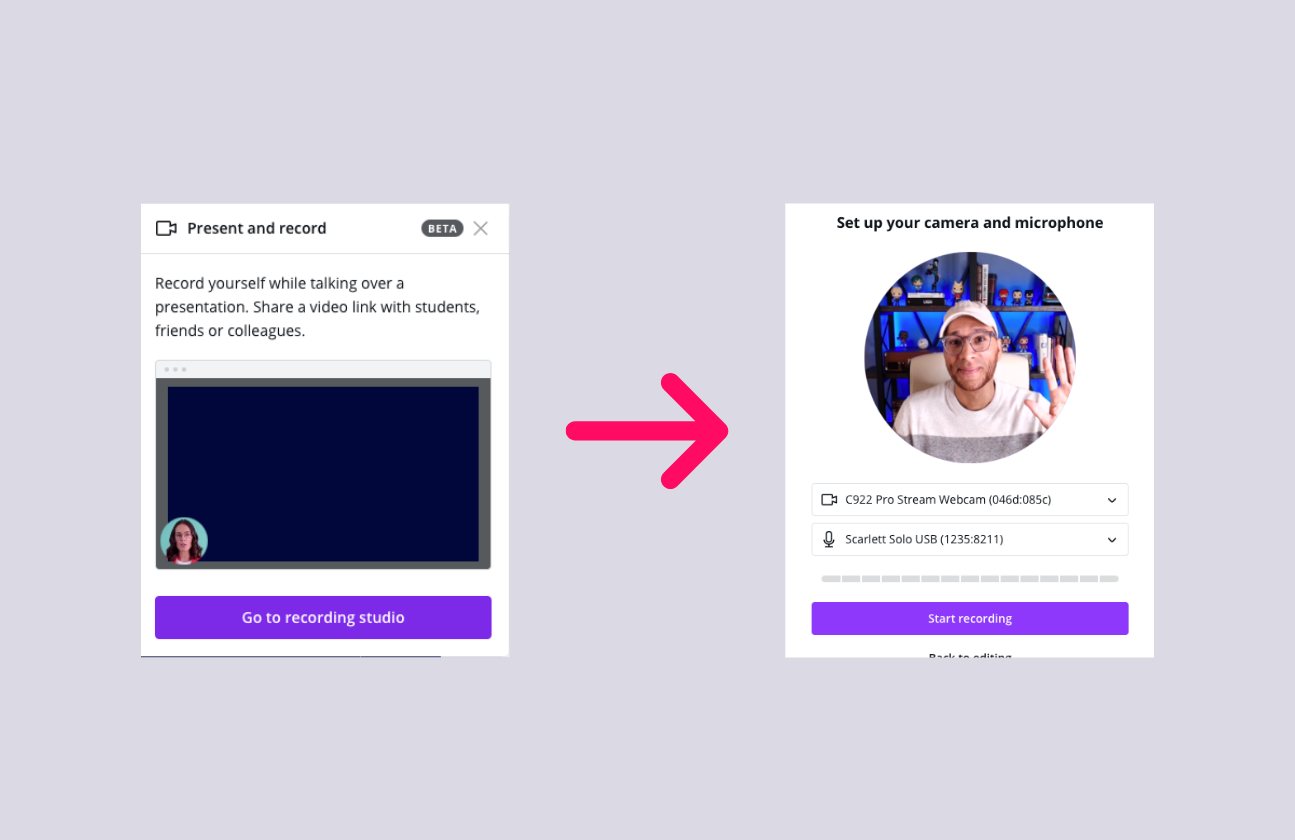
Once you click on “Present and Record”, you will see a window asking if you’d like to head to the “recording studio”. Click that button and then select your camera and microphone sources. You can use the built in mic, or connect a microphone. If you’re someone who podcasts then you may already be familiar with this process.
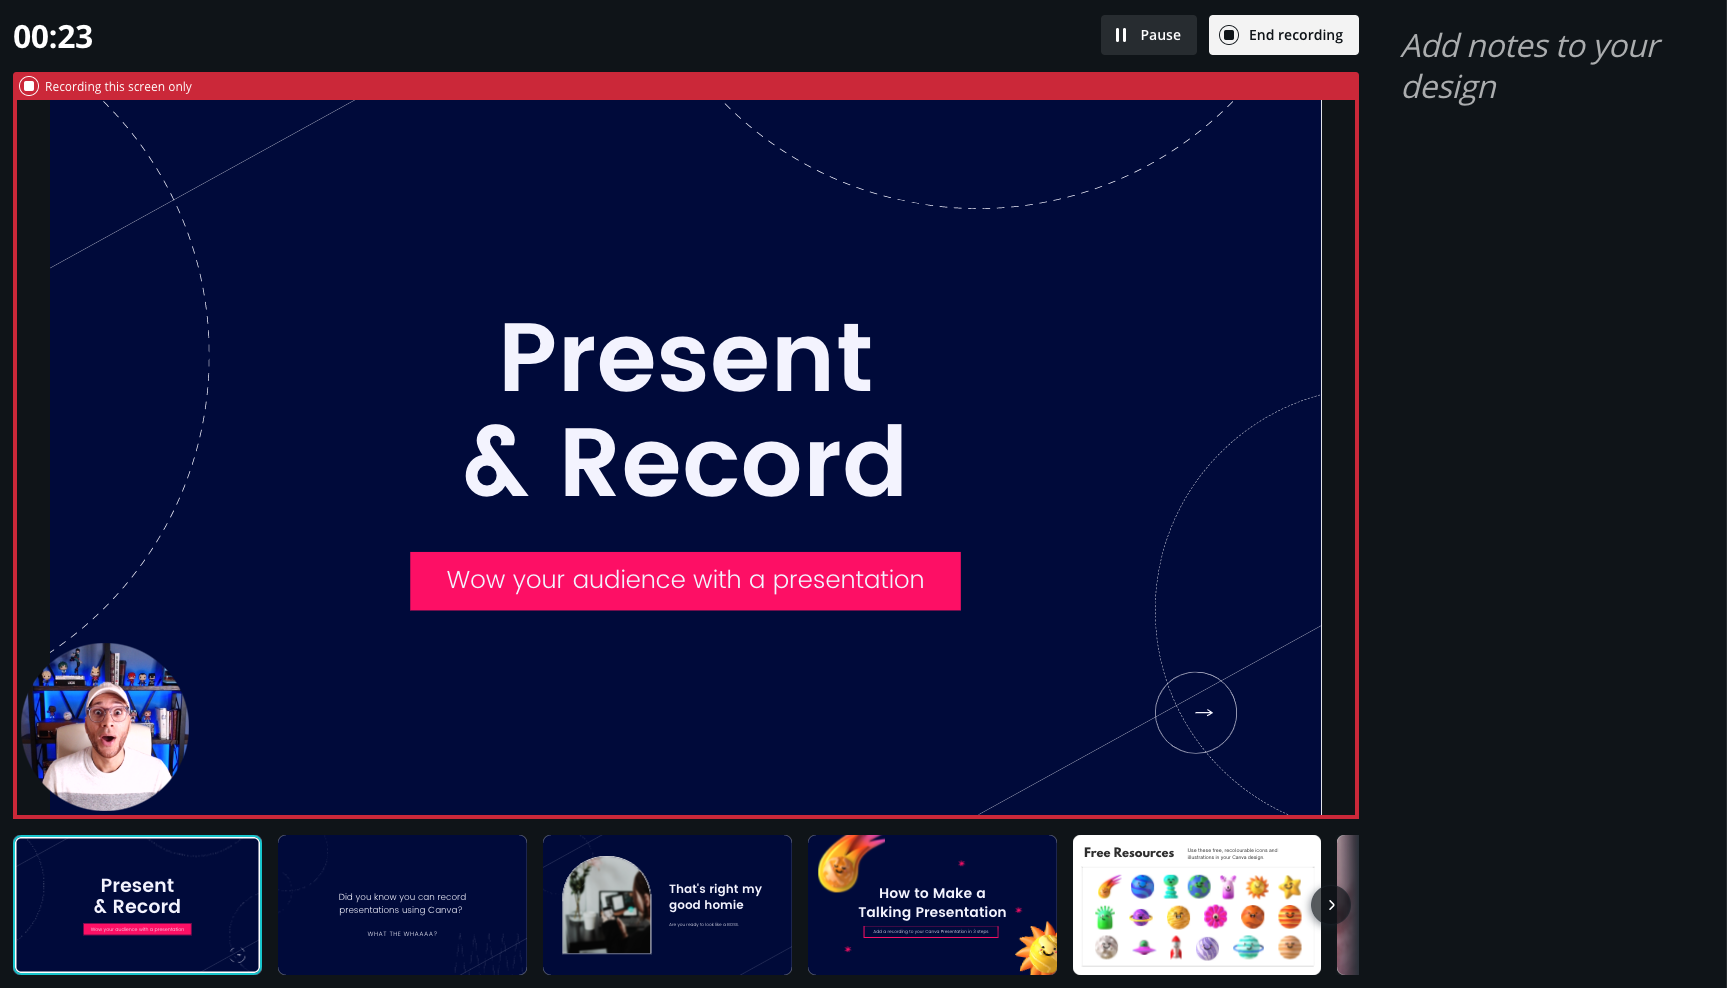
Record your presentation, navigate through slides, and add any notes you’d like to have as a guide during your presentation (the audience will only see your slides, not your notes). When you’re done with the presentation, click “End Record” and you’ll see a window with options for your file. You can copy the link and send that directly to your audience, or you can download the file.
*Note: Currently the files do seem to take a while to download, even if it’s a short video. That’s one of the benefits of having the link option though!
I could see this coming in handy for recorded Webinar presentations. They also have the ability to Present LIVE, which is another sweet feature for webinars. Head over to Canva and play around with these tools and I’d love to know what you think!
Lastly, I couldn’t talk about Presentations without including the following GIF. Powerpoint! 😜


